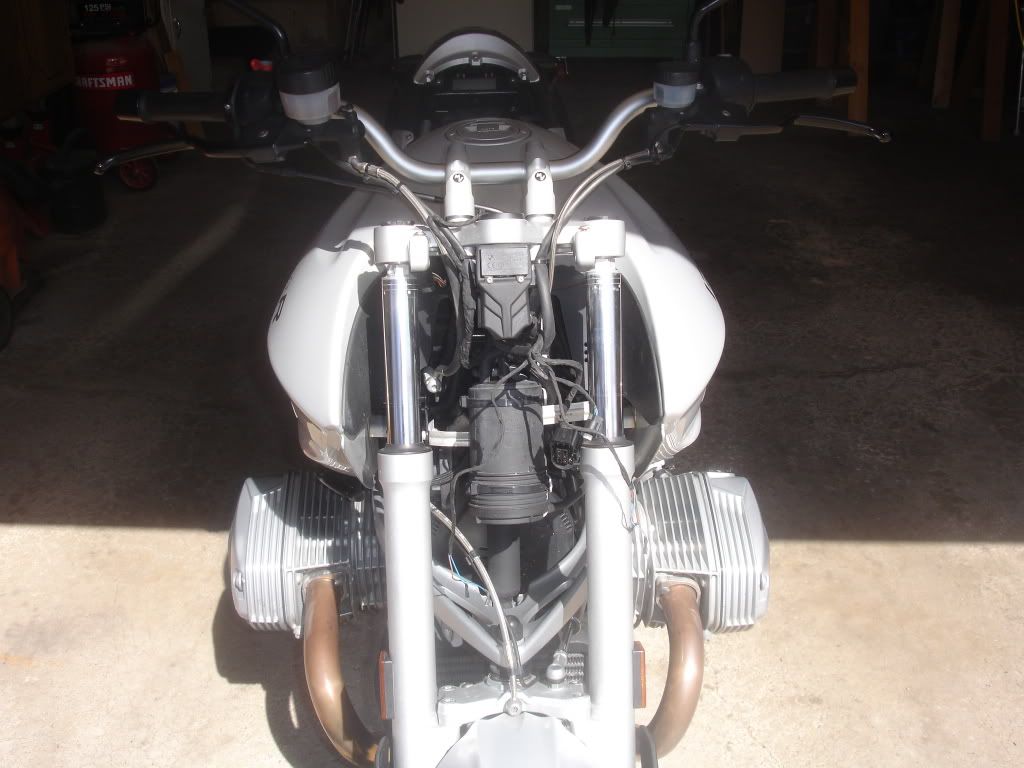
This is the first part of the fairing mount. It holds the gauge cluster and additional fairing mounts.
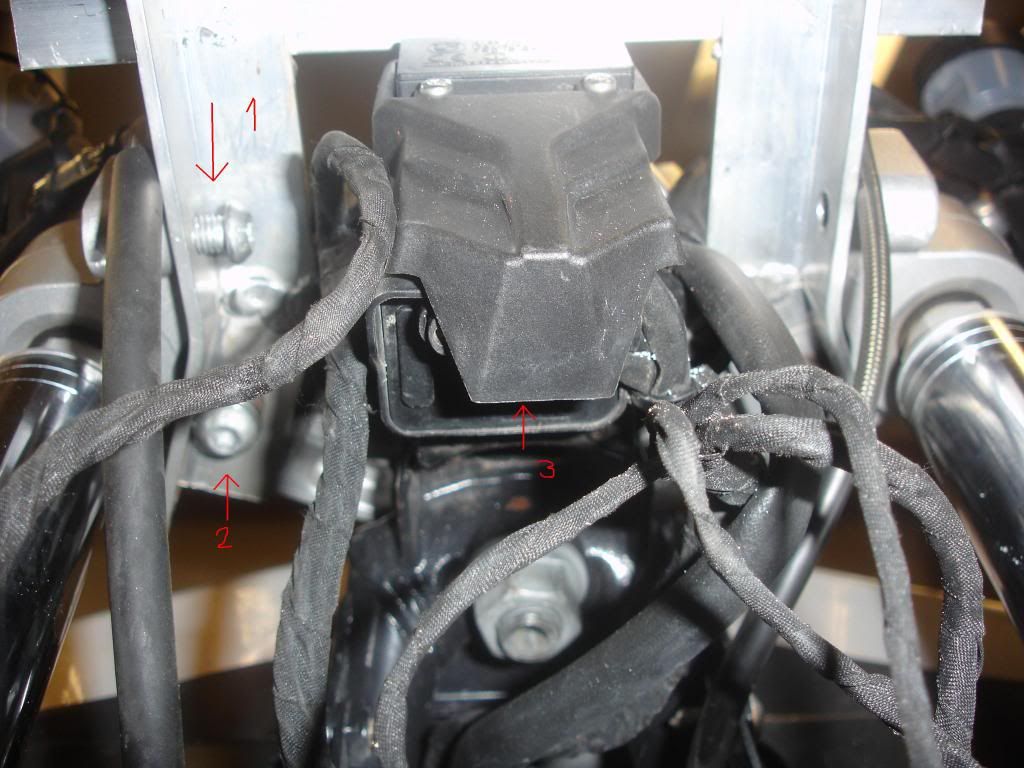
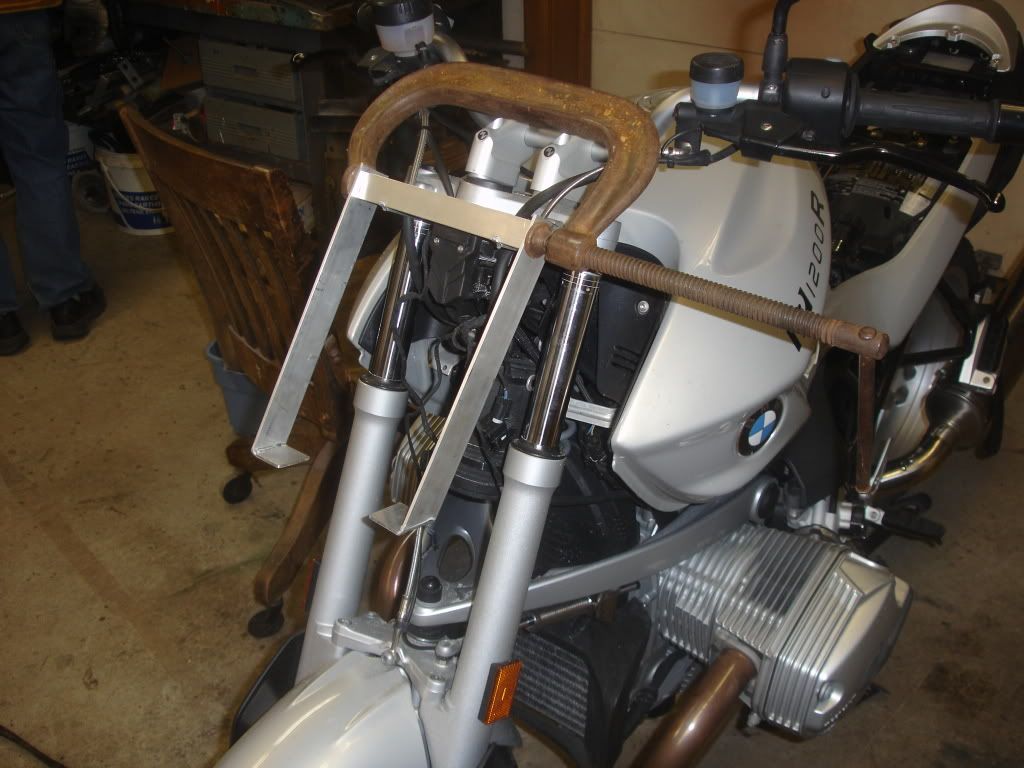
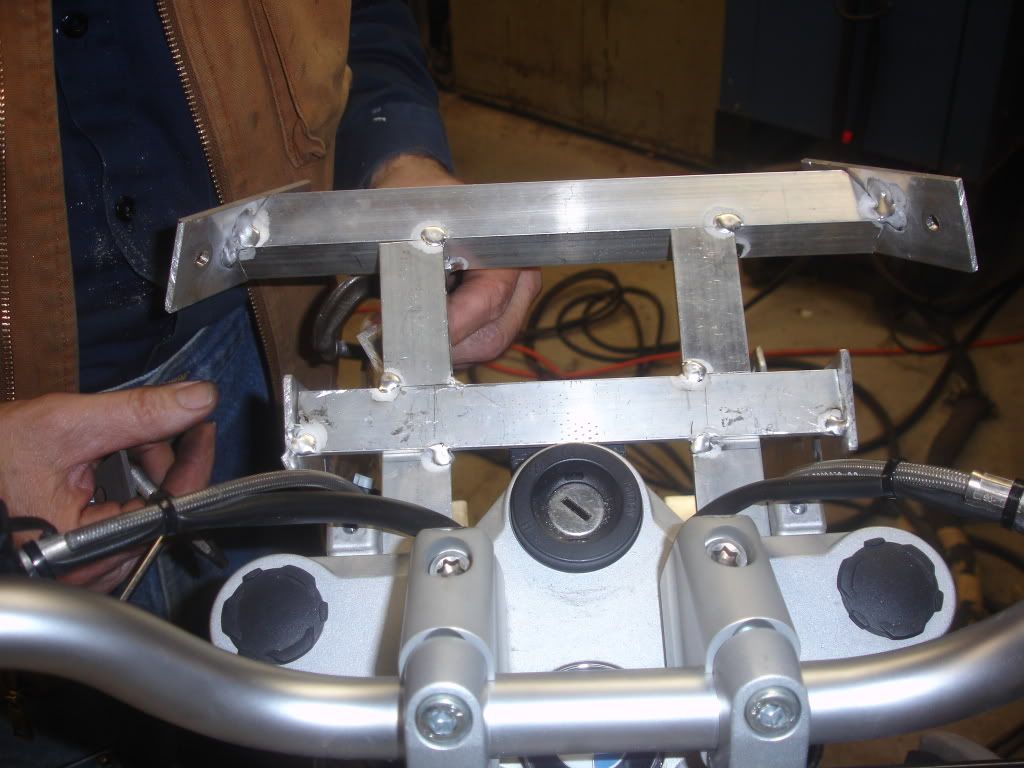
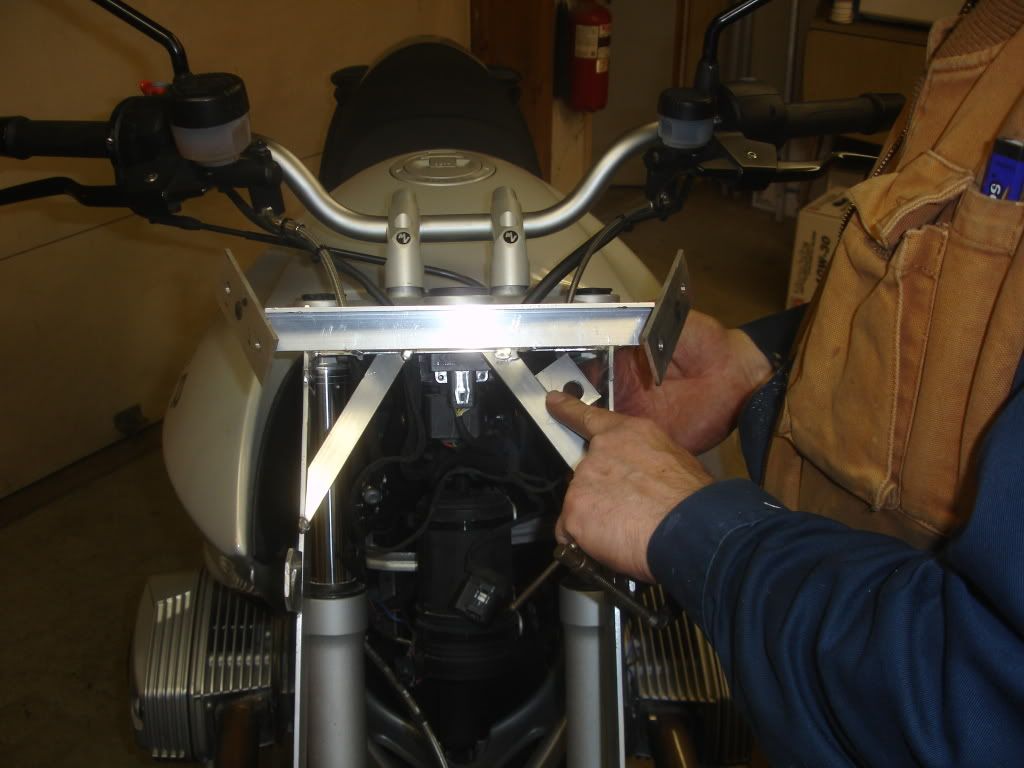
In this picture, 1 and 2 are the mounting locations in the upper triple clamp for the fairing mount. #3 is a weather shield for the ignition switch, which I removed in order to get the headlight back as far as I wanted it for aesthetic reasons.
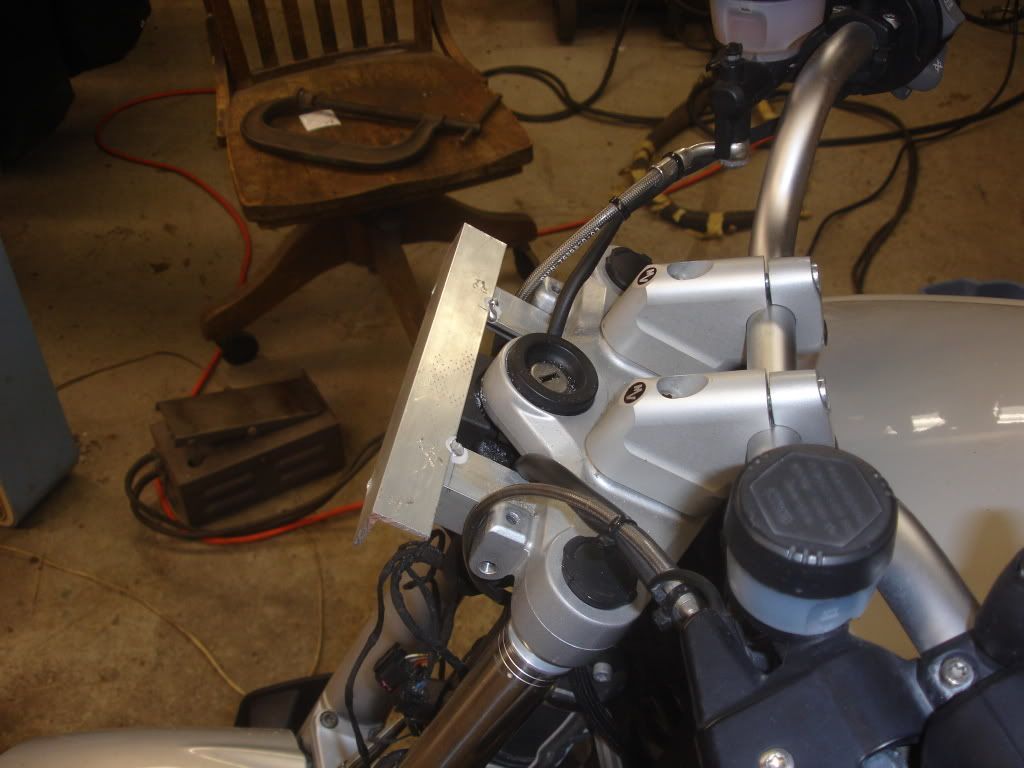
The C clamp is holding on the lower fairing mount and what will become the headlight mount.
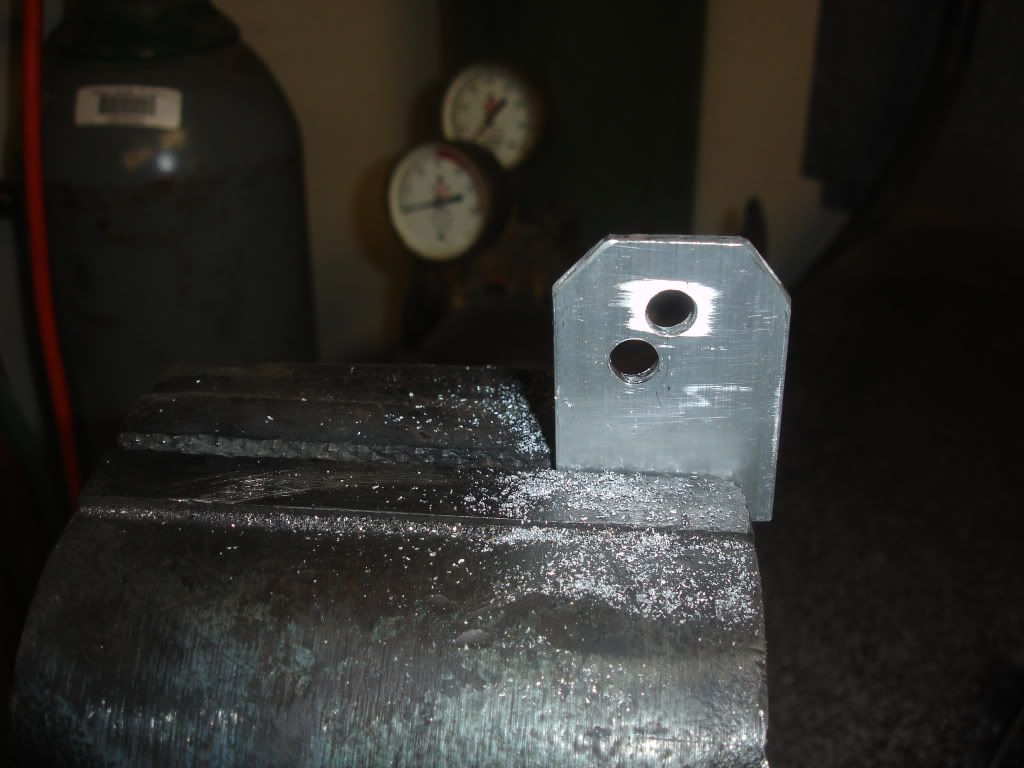
The next few pictures are the fabrication of the headlight mount. Since it's all being made out of aluminum it's pretty easy to work. A couple of holes drilled, some round filing for shaping, then tack weld it on to the proper location and we're set to move on.
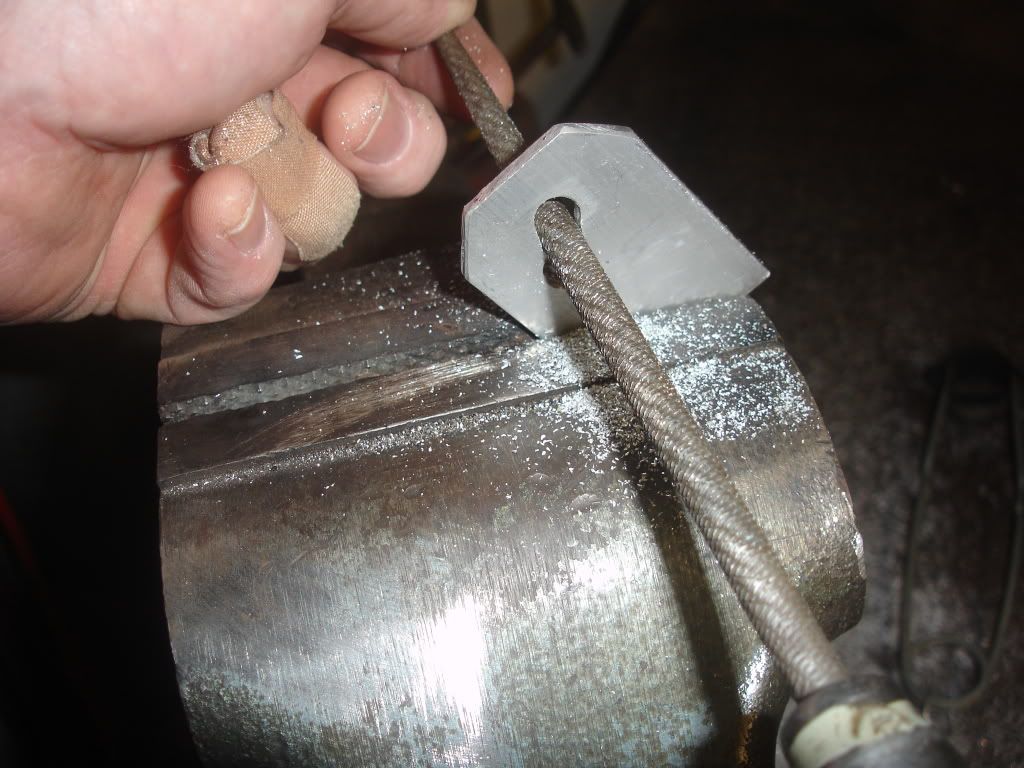
This next picture is the tab being braced against the lower fairing mount and being tacked to the lower fairing mount.

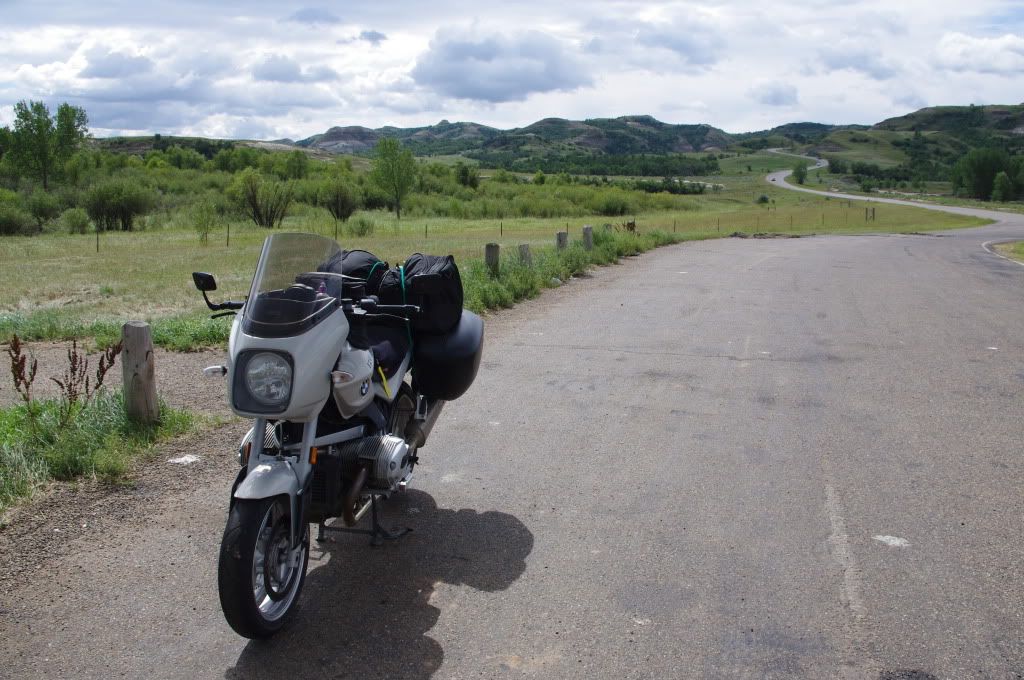
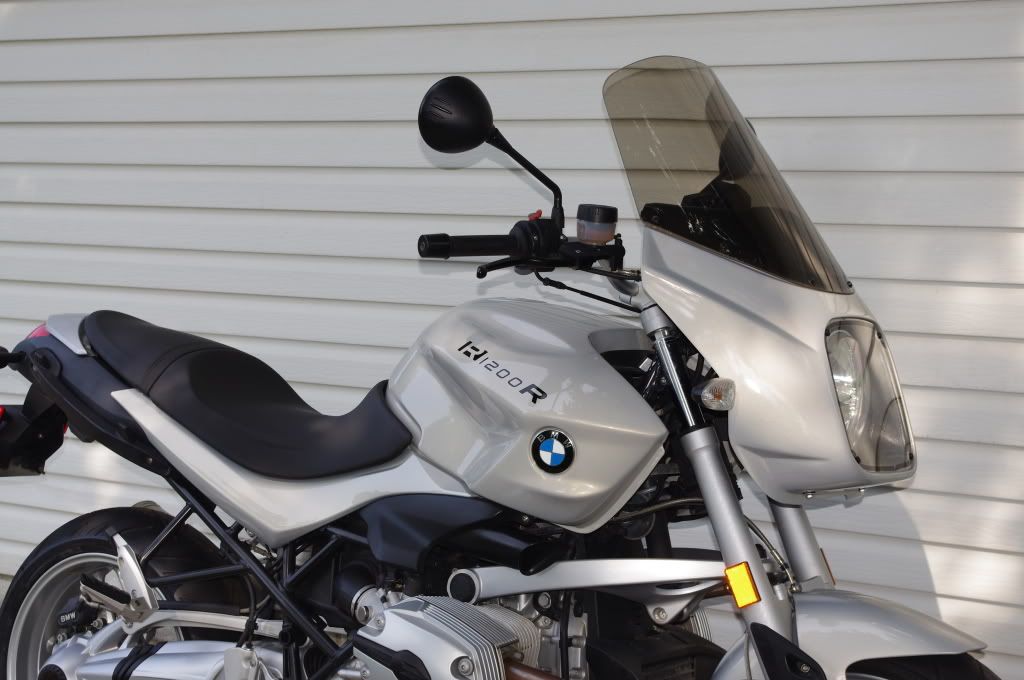
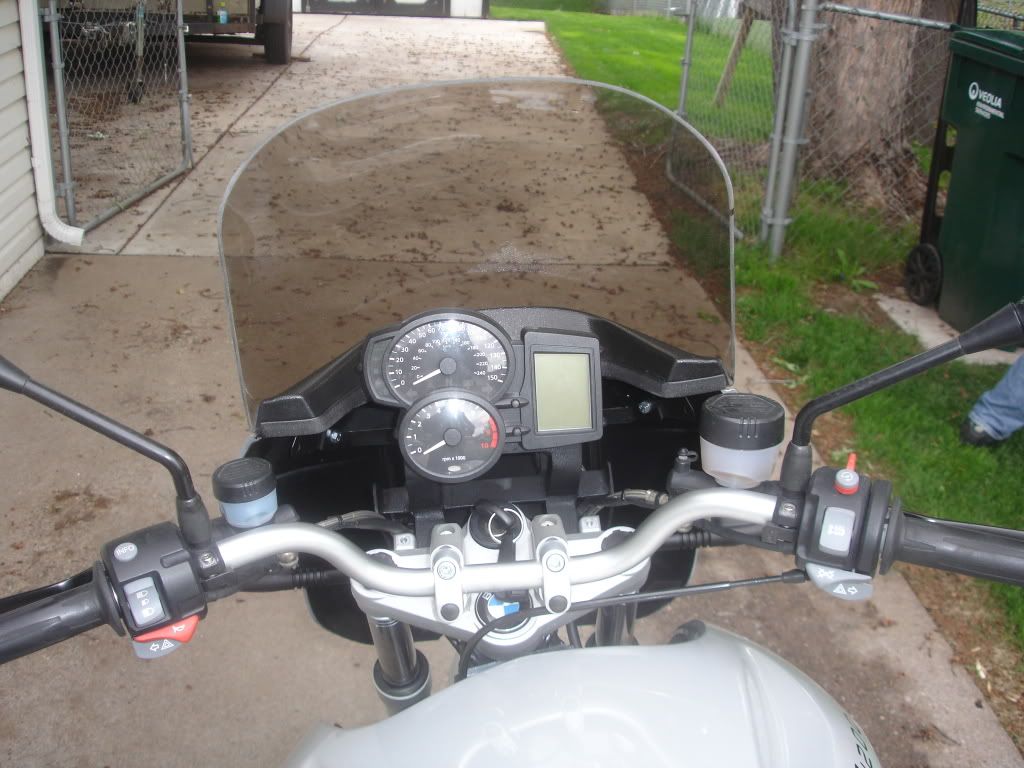
As you probably realize, the complete fairing is attached only to the top triple clamp. I've tour tested it to 110 mph so far, and it's been rock solid for the last 8,000 miles.
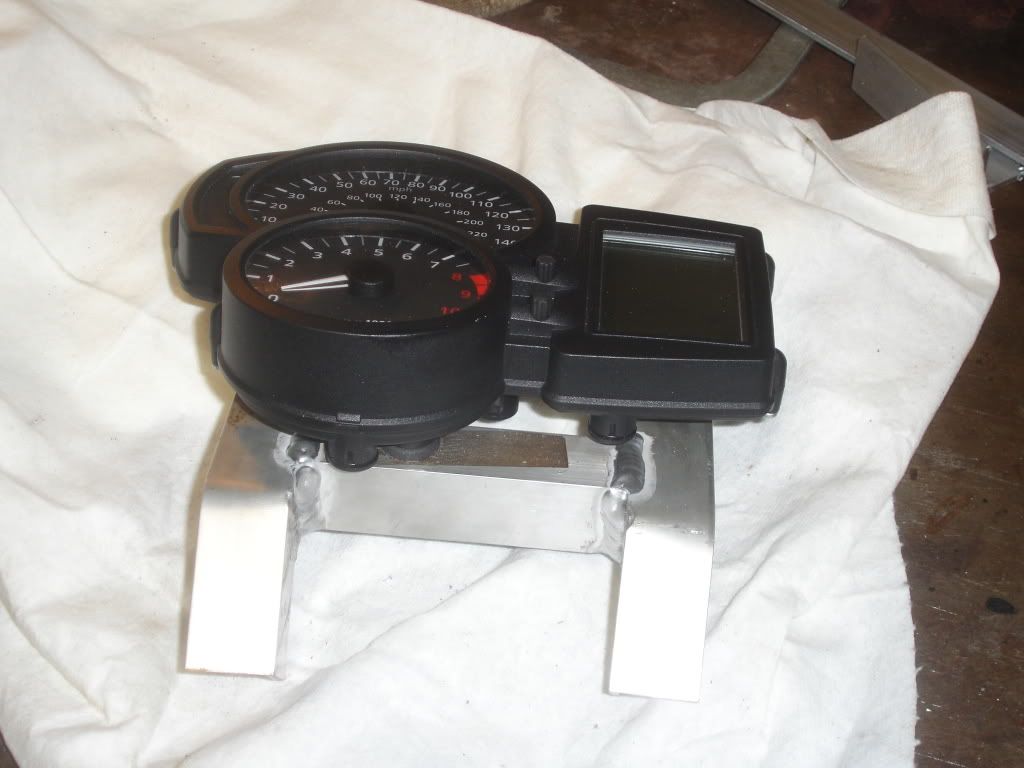
This is the gauge cluster mount, which attaches to the very first cross bracket that you saw in the second photo.
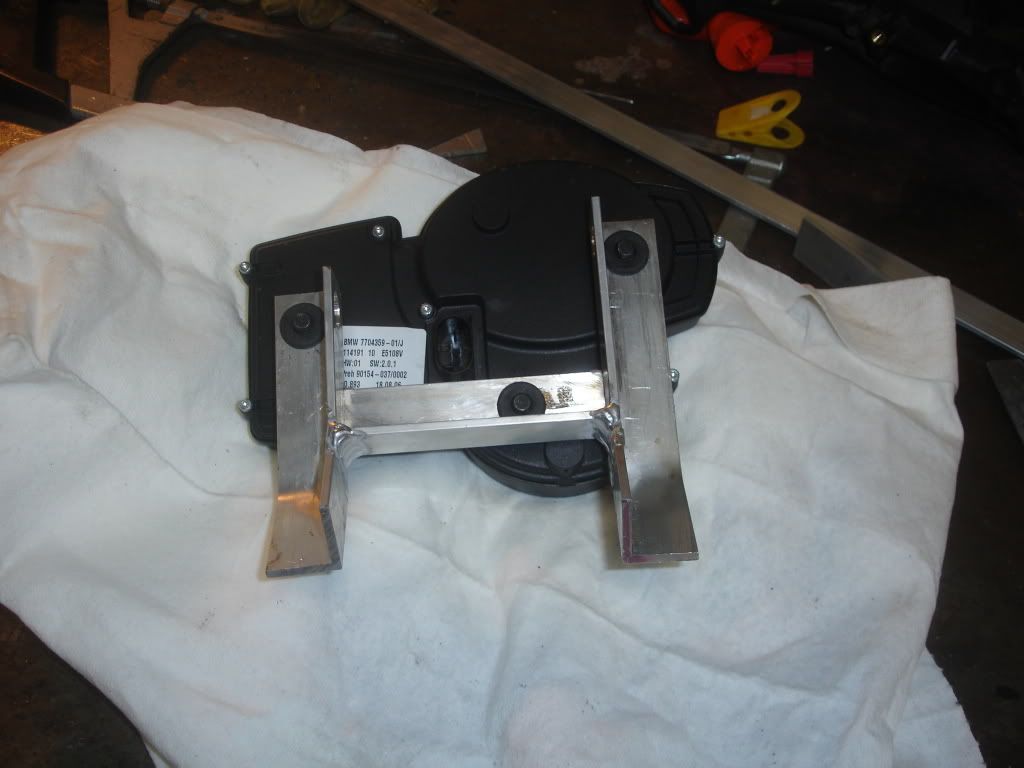
This is it from the back. At this point, I've removed the weather shield from the back of the gauges. Since it's all being protected by the fairing, I felt there would be no problem.
This photo shows the next addition to the fairing mount, which I refer to as the upper fairing mount.
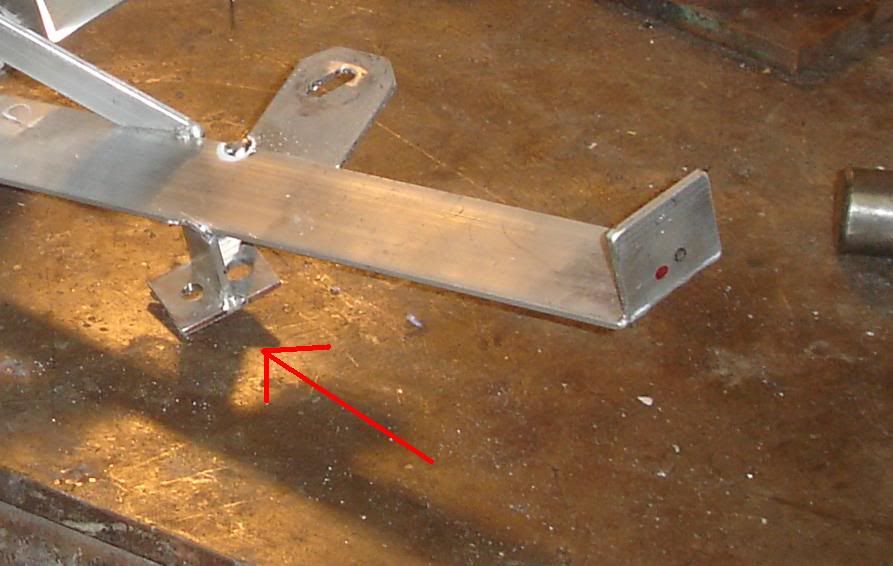
This next photo shows the positioning of the half inch strap for lateral support of the lower fairing and headlight mount. The item being pointed at is the ambient air temperature mount.
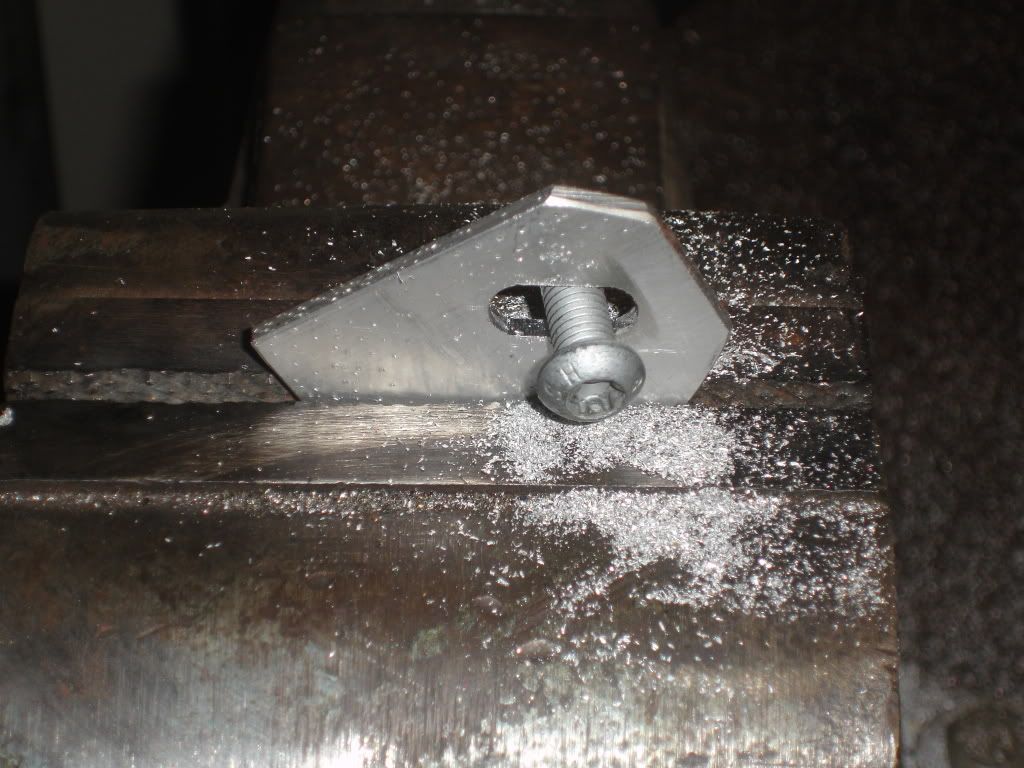
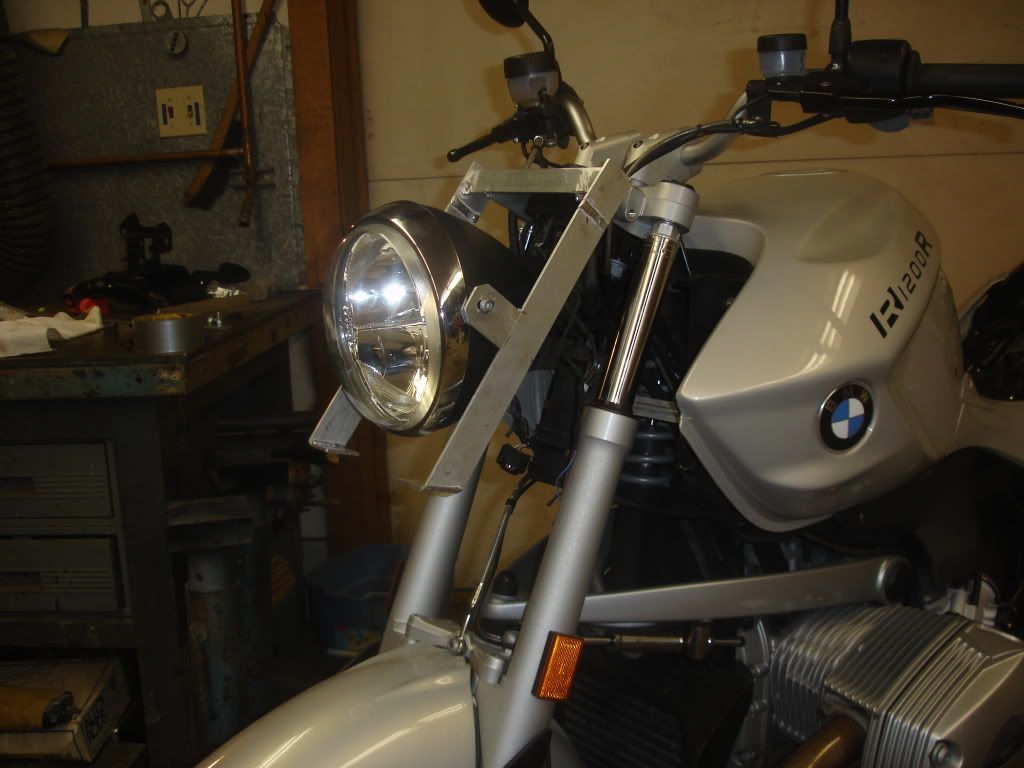
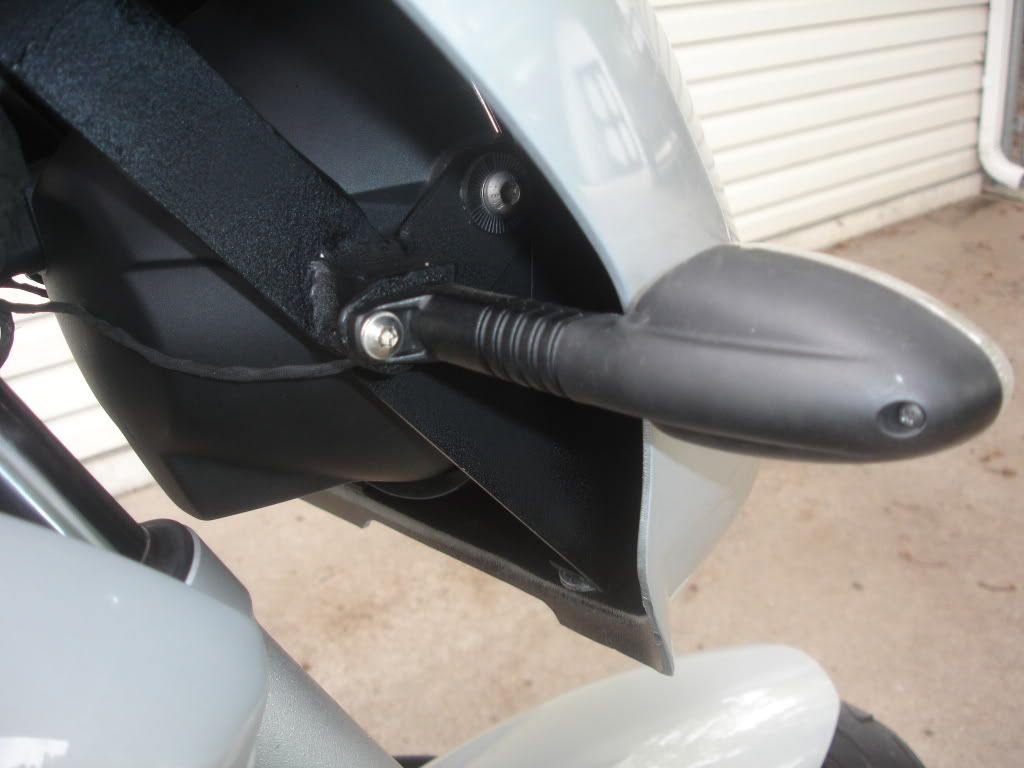
This photo shows the headlight mount (made from 1" aluminum strap) and turn signal mount (made from 1" angle) with a tab welded on the end. The hole for the turn signal mount was drilled like the headlight mount and filed with a square file to accept the stock turn signal mounting system. The second photo shows it's placement with the fairing on the bike. The nice thing is that the stock wiring still fit without having to lengthen it, and the same goes for the headlight as well (stock canbus system intact).
If you look closely, the headlight and gauges are higher than stock. The turn signals are lower than stock to mate up with the cutouts in the fairing. Also, when I ordered the fairing I requested the least amount of cutout possible for the turn signals. We took care to line up the lower lines of the fairing with the upper lines of the tank.
I cleaned up all of the welds with a Dremel tool, lightly sanded the fairing mount with 200 grit sandpaper, cleaned it with rubbing alcohol, sprayed it with gray etching primer for aluminum, and then sprayed it with the final black coat which is black wrinkle paint cooked in the oven at 130 degrees. All of the paints were readily available at the local auto parts store. My wife was gone
In taking off the sport fairing, headlight bracketry, and gauge backetry, I dropped 2.5 pounds. The fairing mount weighs 1.5 pounds, and the fairing weighs about 4 pounds. So, overall there was a total weight increase of 2.5 pounds.